Curves to Mesh Update: Getting Started
Welcome to the Curves to Mesh / Loft Surface update! This guide will walk you through installing the add-on and creating your first lofted surface.
Note
This add-on requires Blender 4.5 or higher.
Installation
You can simply drag and drop the supplied curves_to_mesh.zip file into Blender 4.5 or above.
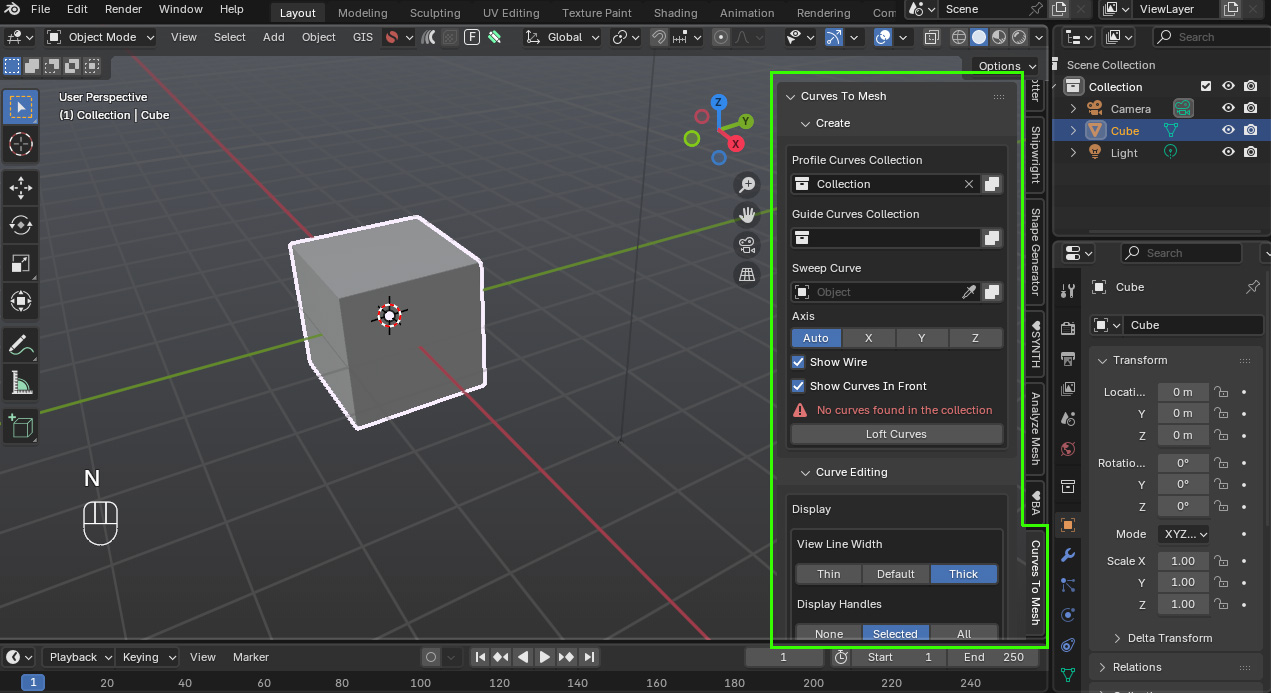
Once installed, the tools will appear in the N-panel under the Curves to Mesh section.
Your First Loft
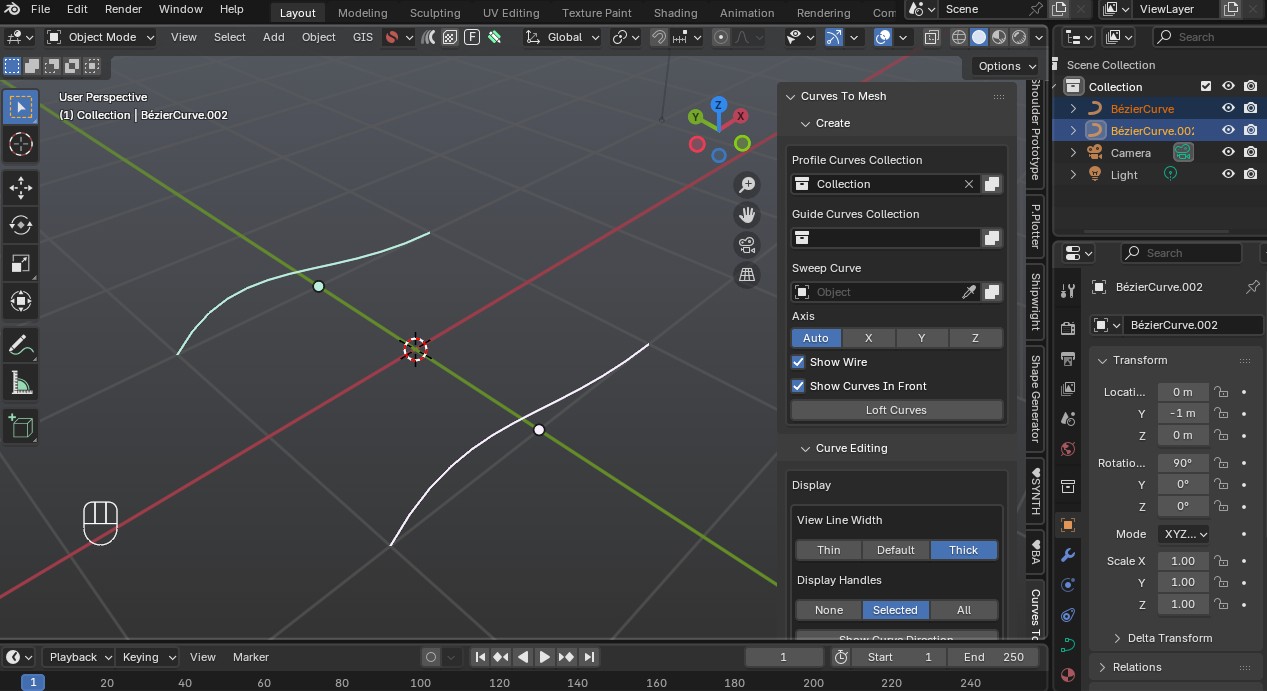
Add two Bezier curves:
Press Shift+A → Curve → Bezier.
Move one along the Y-axis.
Duplicate it with Shift+D and move it again.
Select both curves and press M to move them into a new collection named
Profiles.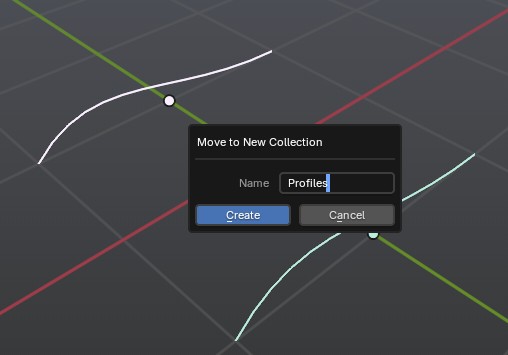
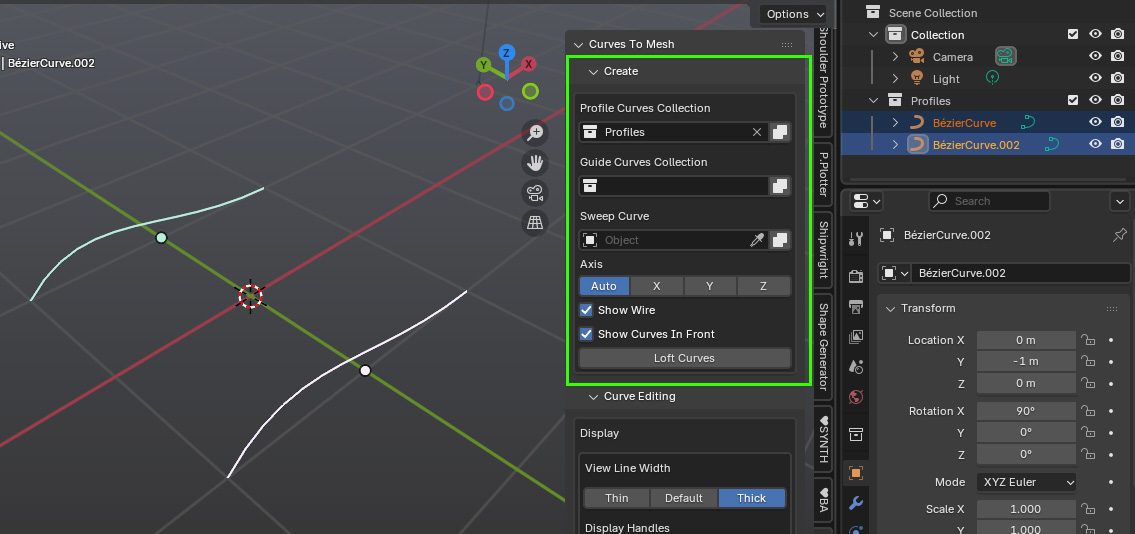
In the Create section of the add-on panel:
Set Profiles Collection to
Profiles.You can also optionally set a Guides Collection or a Sweep Curve.
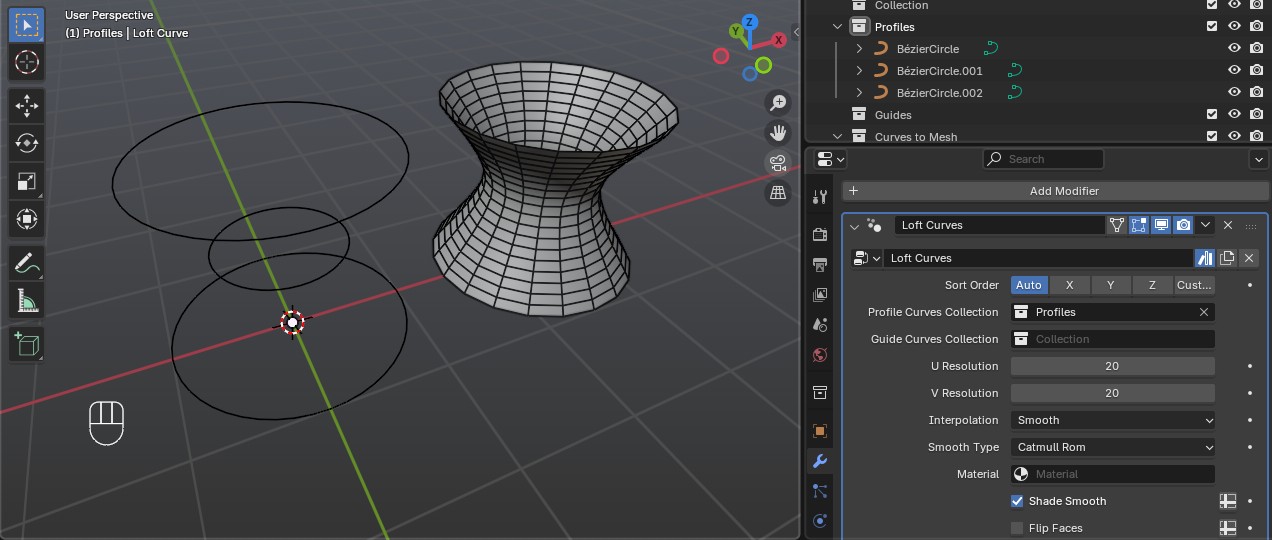
Click Loft Curves.
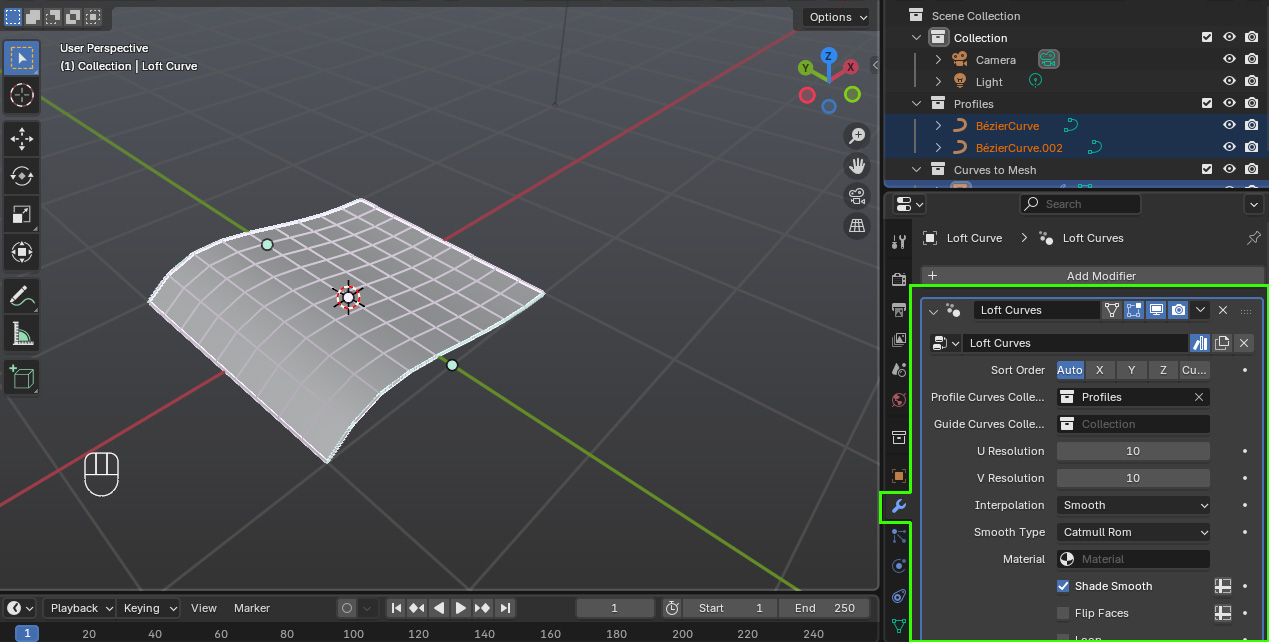
A new object called Loft Curve is created in the Curves to Mesh collection.
For clarity, press N to hide the side panel.
Use the Modifier tab to adjust its parameters.
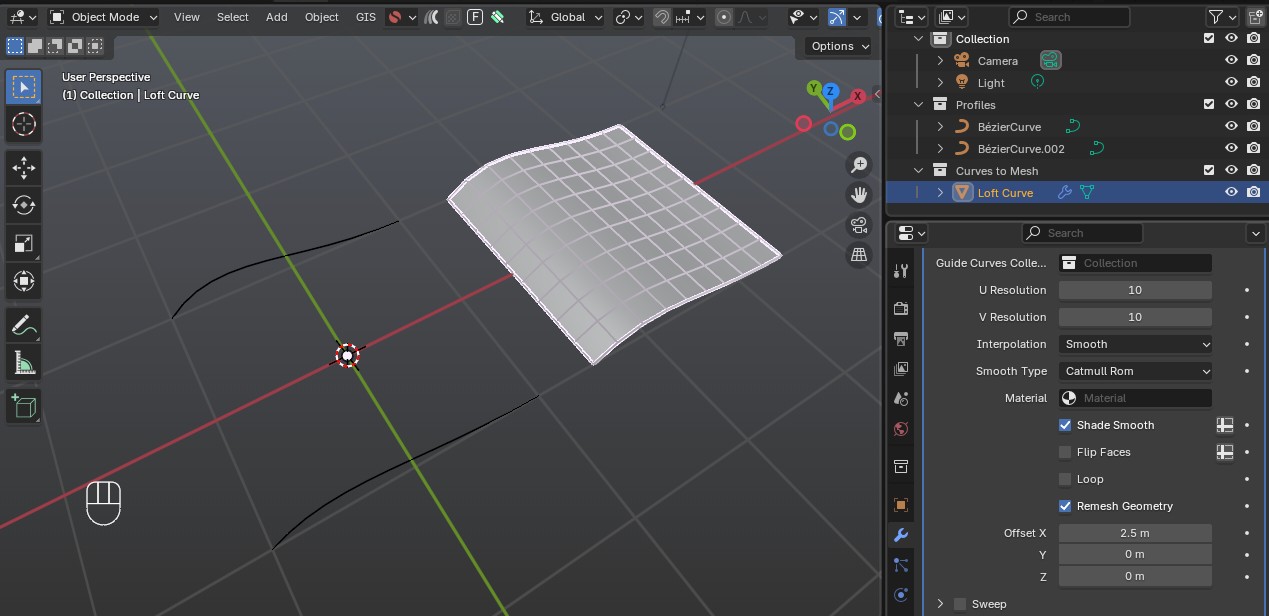
Tip
I also use the Offset setting on the modifier tab to move the object out of the way so I can see the curves more clearly.
Editing Profiles and Guides
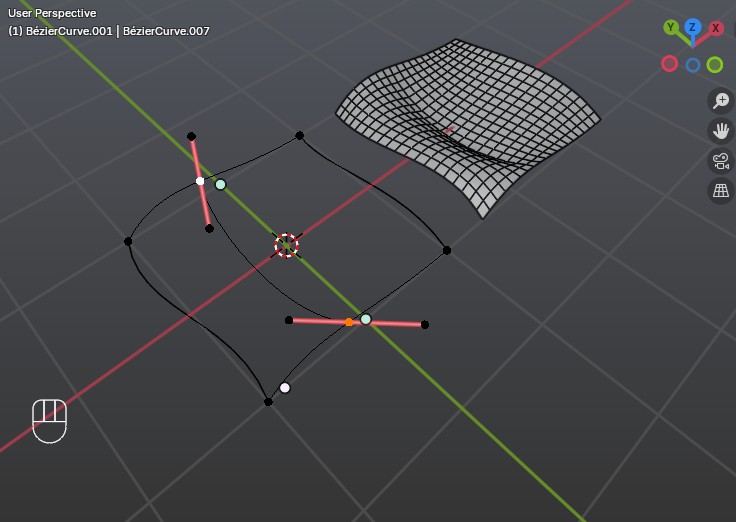
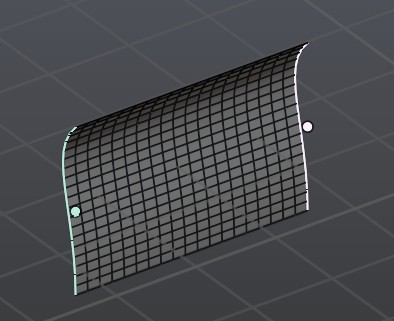
Select one or more profile curves, press Tab to enter Edit Mode, and move vertices. The loft object updates interactively.
To add Guide Curves:
Duplicate your profile curves (Shift+D).
Move them into a new collection named
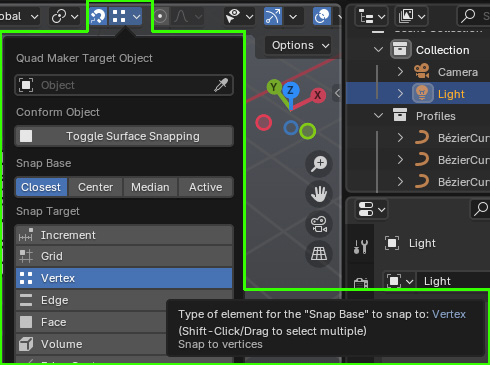
Guides.Enable snapping with the magnet icon at the top of the viewport and select Vertex Snapping from the dropdown.
Snap vertices of these curves so they align with corresponding points on the profile curves:
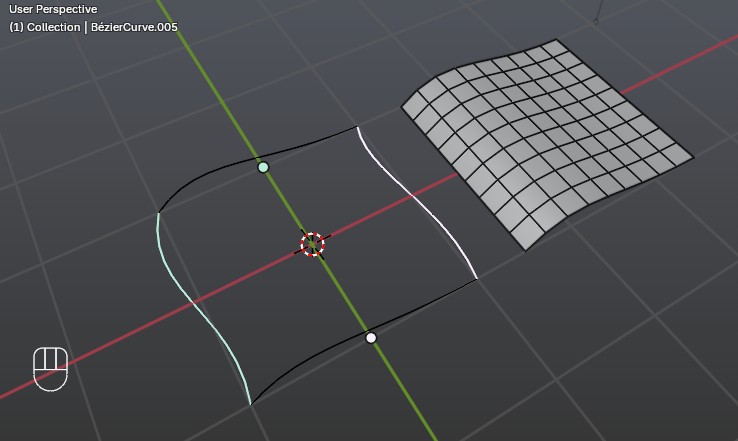
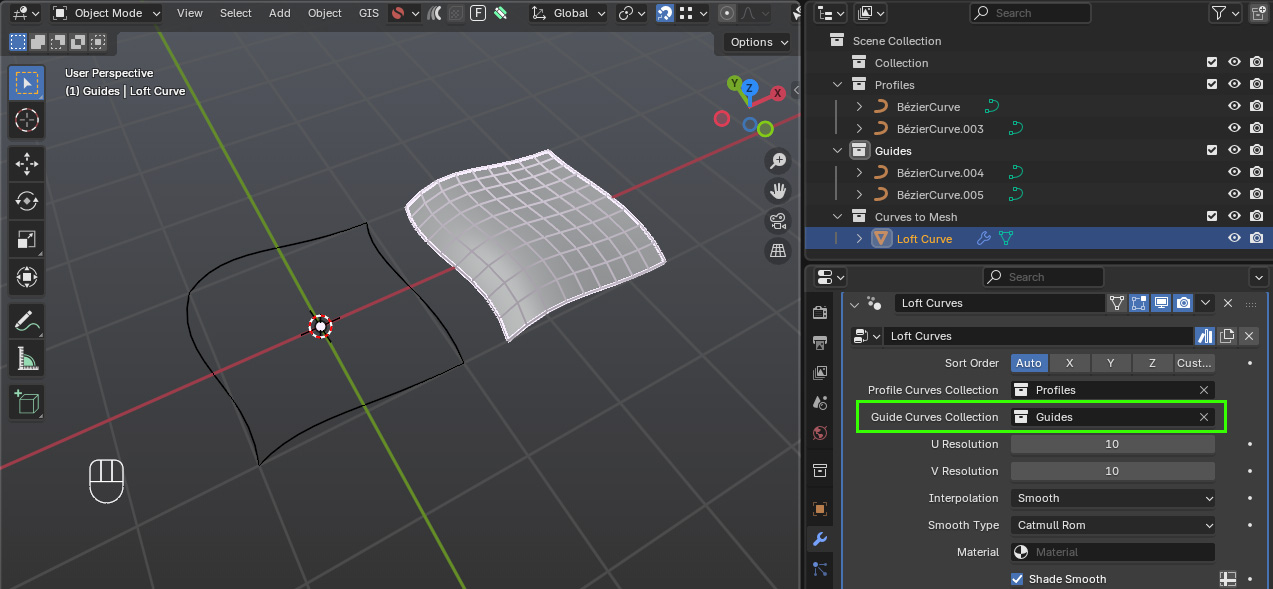
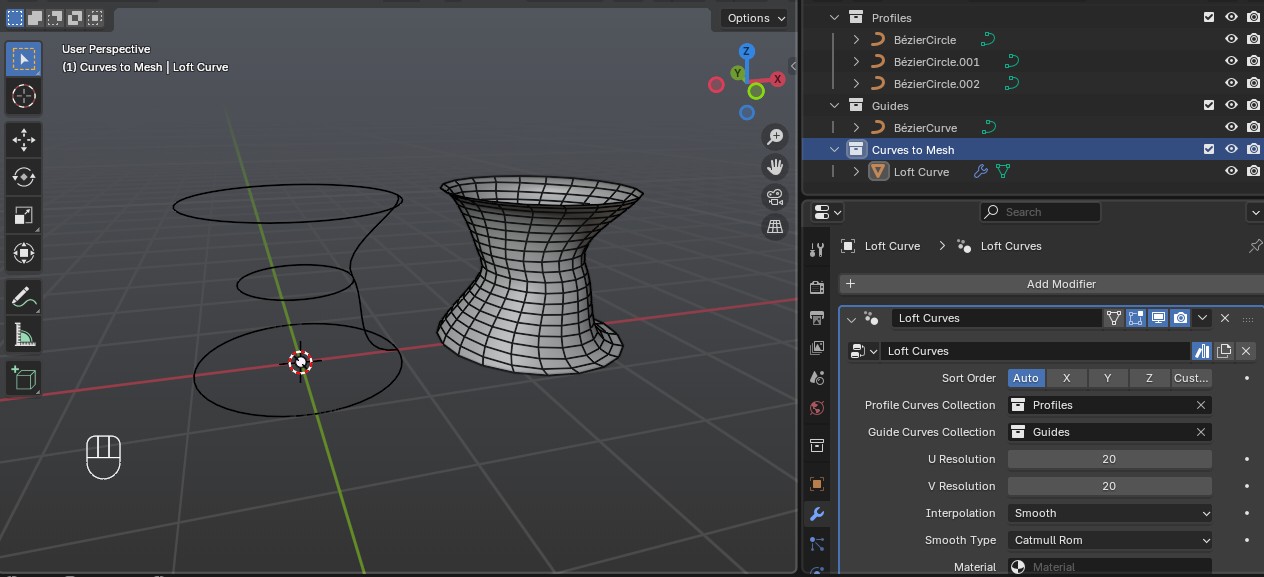
In the loft object’s Modifier tab, set the Guide Curves Collection. The object should update so that the loft is controlled by the guide curves as well as the profiles.
Important
You can have multiple guide curves along profiles.
Guide curves must snap to existing points on the profile curves.
If needed, subdivide the profiles first to create snap points.
Cyclic Curves
Cyclic (closed) curves such as circles are also supported.
Add a Circle curve (Shift+A → Curve → Circle).
Move it into a collection (e.g.
Circle Profiles) and duplicate it.In the panel, set Profiles Collection to your circle collection.
Click Loft Curves to generate a lofted object.
Optionally, add Guide Curves in the same way as linear ones.
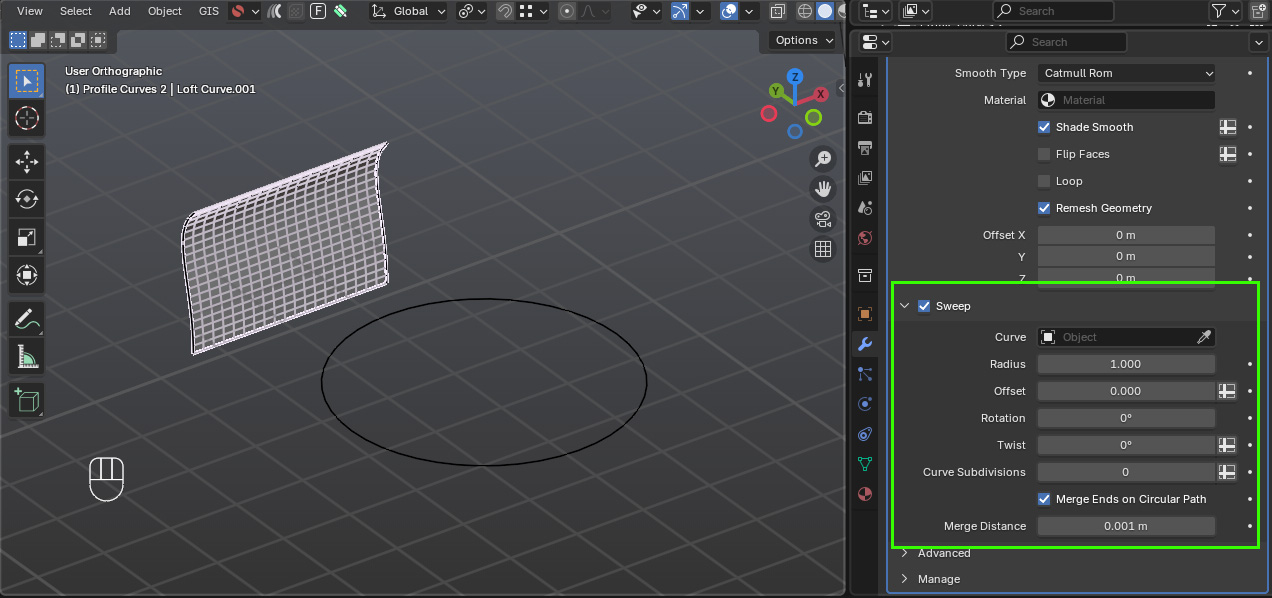
Sweep Curves
In addition to profile and guide curves, you can also specify a Sweep Curve. This deforms the lofted surface along the shape of another curve.
Create a lofted object with profile curves as before:
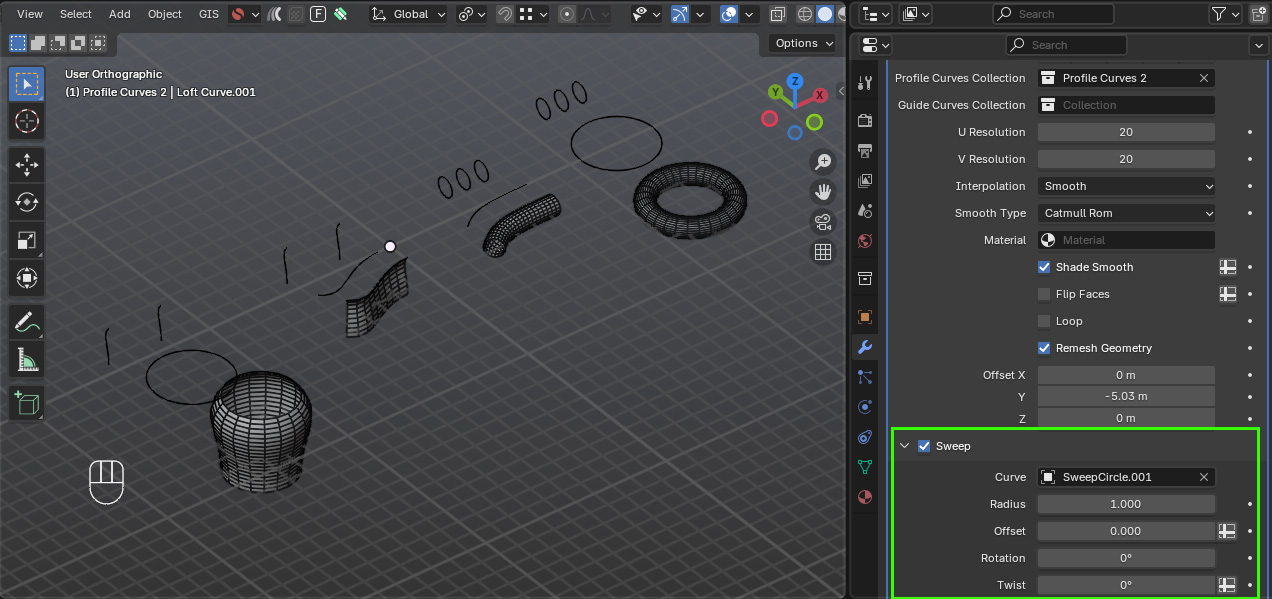
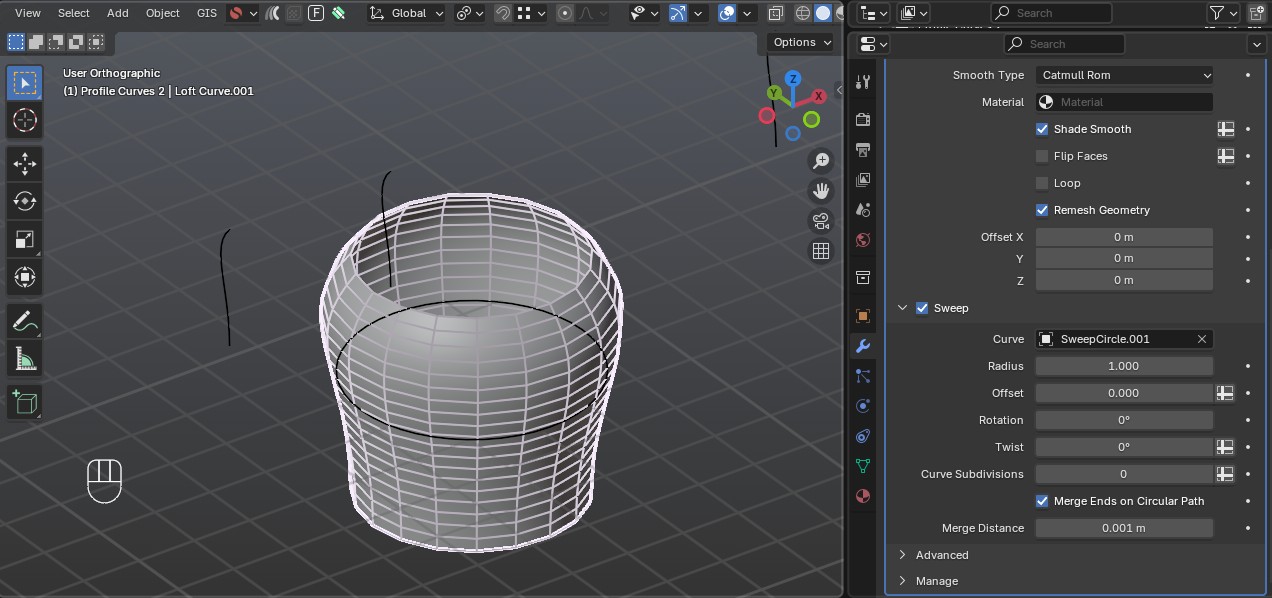
Tick the Sweep option in the modifier of the lofted object, and select the sweep curve which can be cyclic or non-cyclic:
Once the sweep curve has been picked you should see the object deform along it:
You can assign a sweep curve in two places:
During creation: In the add-on panel’s Create section, set the Sweep Curve field.
After creation: In the loft object’s Modifier tab, set or change the Sweep Curve there.
A sweep curve can be either:
Cyclic (closed, e.g. a circle)
Non-cyclic (open, e.g. a bezier line or custom curve)
When a sweep curve is active, the generated loft surface is wrapped or deformed along that curve, making it useful for pipes, rings, or flowing surfaces that follow a path.
Helper Objects
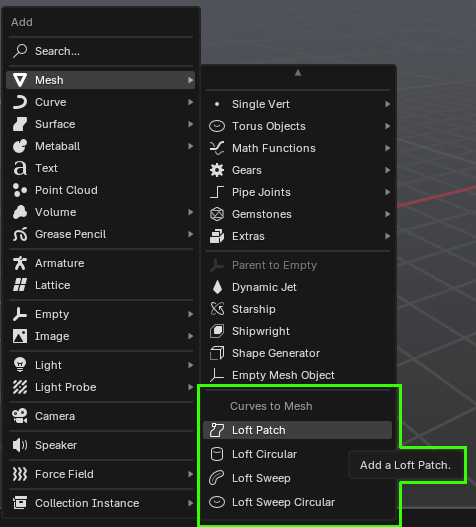
The add-on also provides ready-made helper objects:
Add → Loft Patch Creates a simple lofted patch with both profiles and guide curves ready to edit.
Add → Loft Circular Creates a patch with only cyclic profile curves.
Add → Loft Sweep Creates a patch with profile curves and a sweep curve.
Add → Loft Sweep Circular (Curves only) Creates a patch with cyclic profile curves and a cyclic sweep curve.
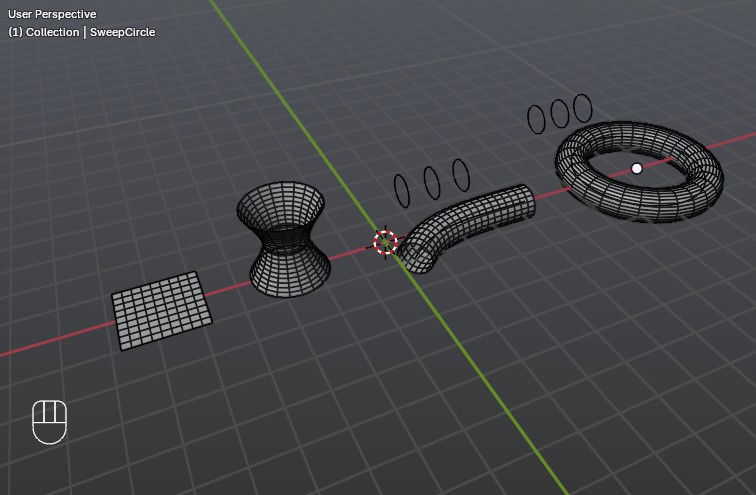
These helpers are a fast way to start experimenting.
Next Steps: ‘What to Test’ Checklist
Explore the modifier settings on the generated loft object.
Edit, duplicate, and subdivide curves to refine your surface.
Experiment with your own curve setups.
Report any bugs or unexpected behaviour during testing.
Note
Tooltips have been added to the UI for quick reference while using the add-on.